GPU-backed Jupyter Notebooks
Contents
GPU-backed Jupyter Notebooks
Jupyter notebooks are a useful tool for interactive development, debugging, and visualization. SkyPilot makes the process of running a GPU-backed Jupyter notebook simple by automatically managing provisioning and port forwarding.
To get a machine with a GPU attached, we recommend using an interactive GPU node. You can read more about interactive nodes here.
# Launch a VM with 1 NVIDIA GPU and forward port 8888 to localhost
sky gpunode -p 8888 -c jupyter-vm --gpus K80:1
Note
View the supported GPUs with the sky show-gpus command.
The above command will automatically log in to the cluster once the cluster is provisioned (or re-use an existing one).
Inside the VM, you can run the following commands to start a Jupyter session:
pip install jupyter
jupyter notebook
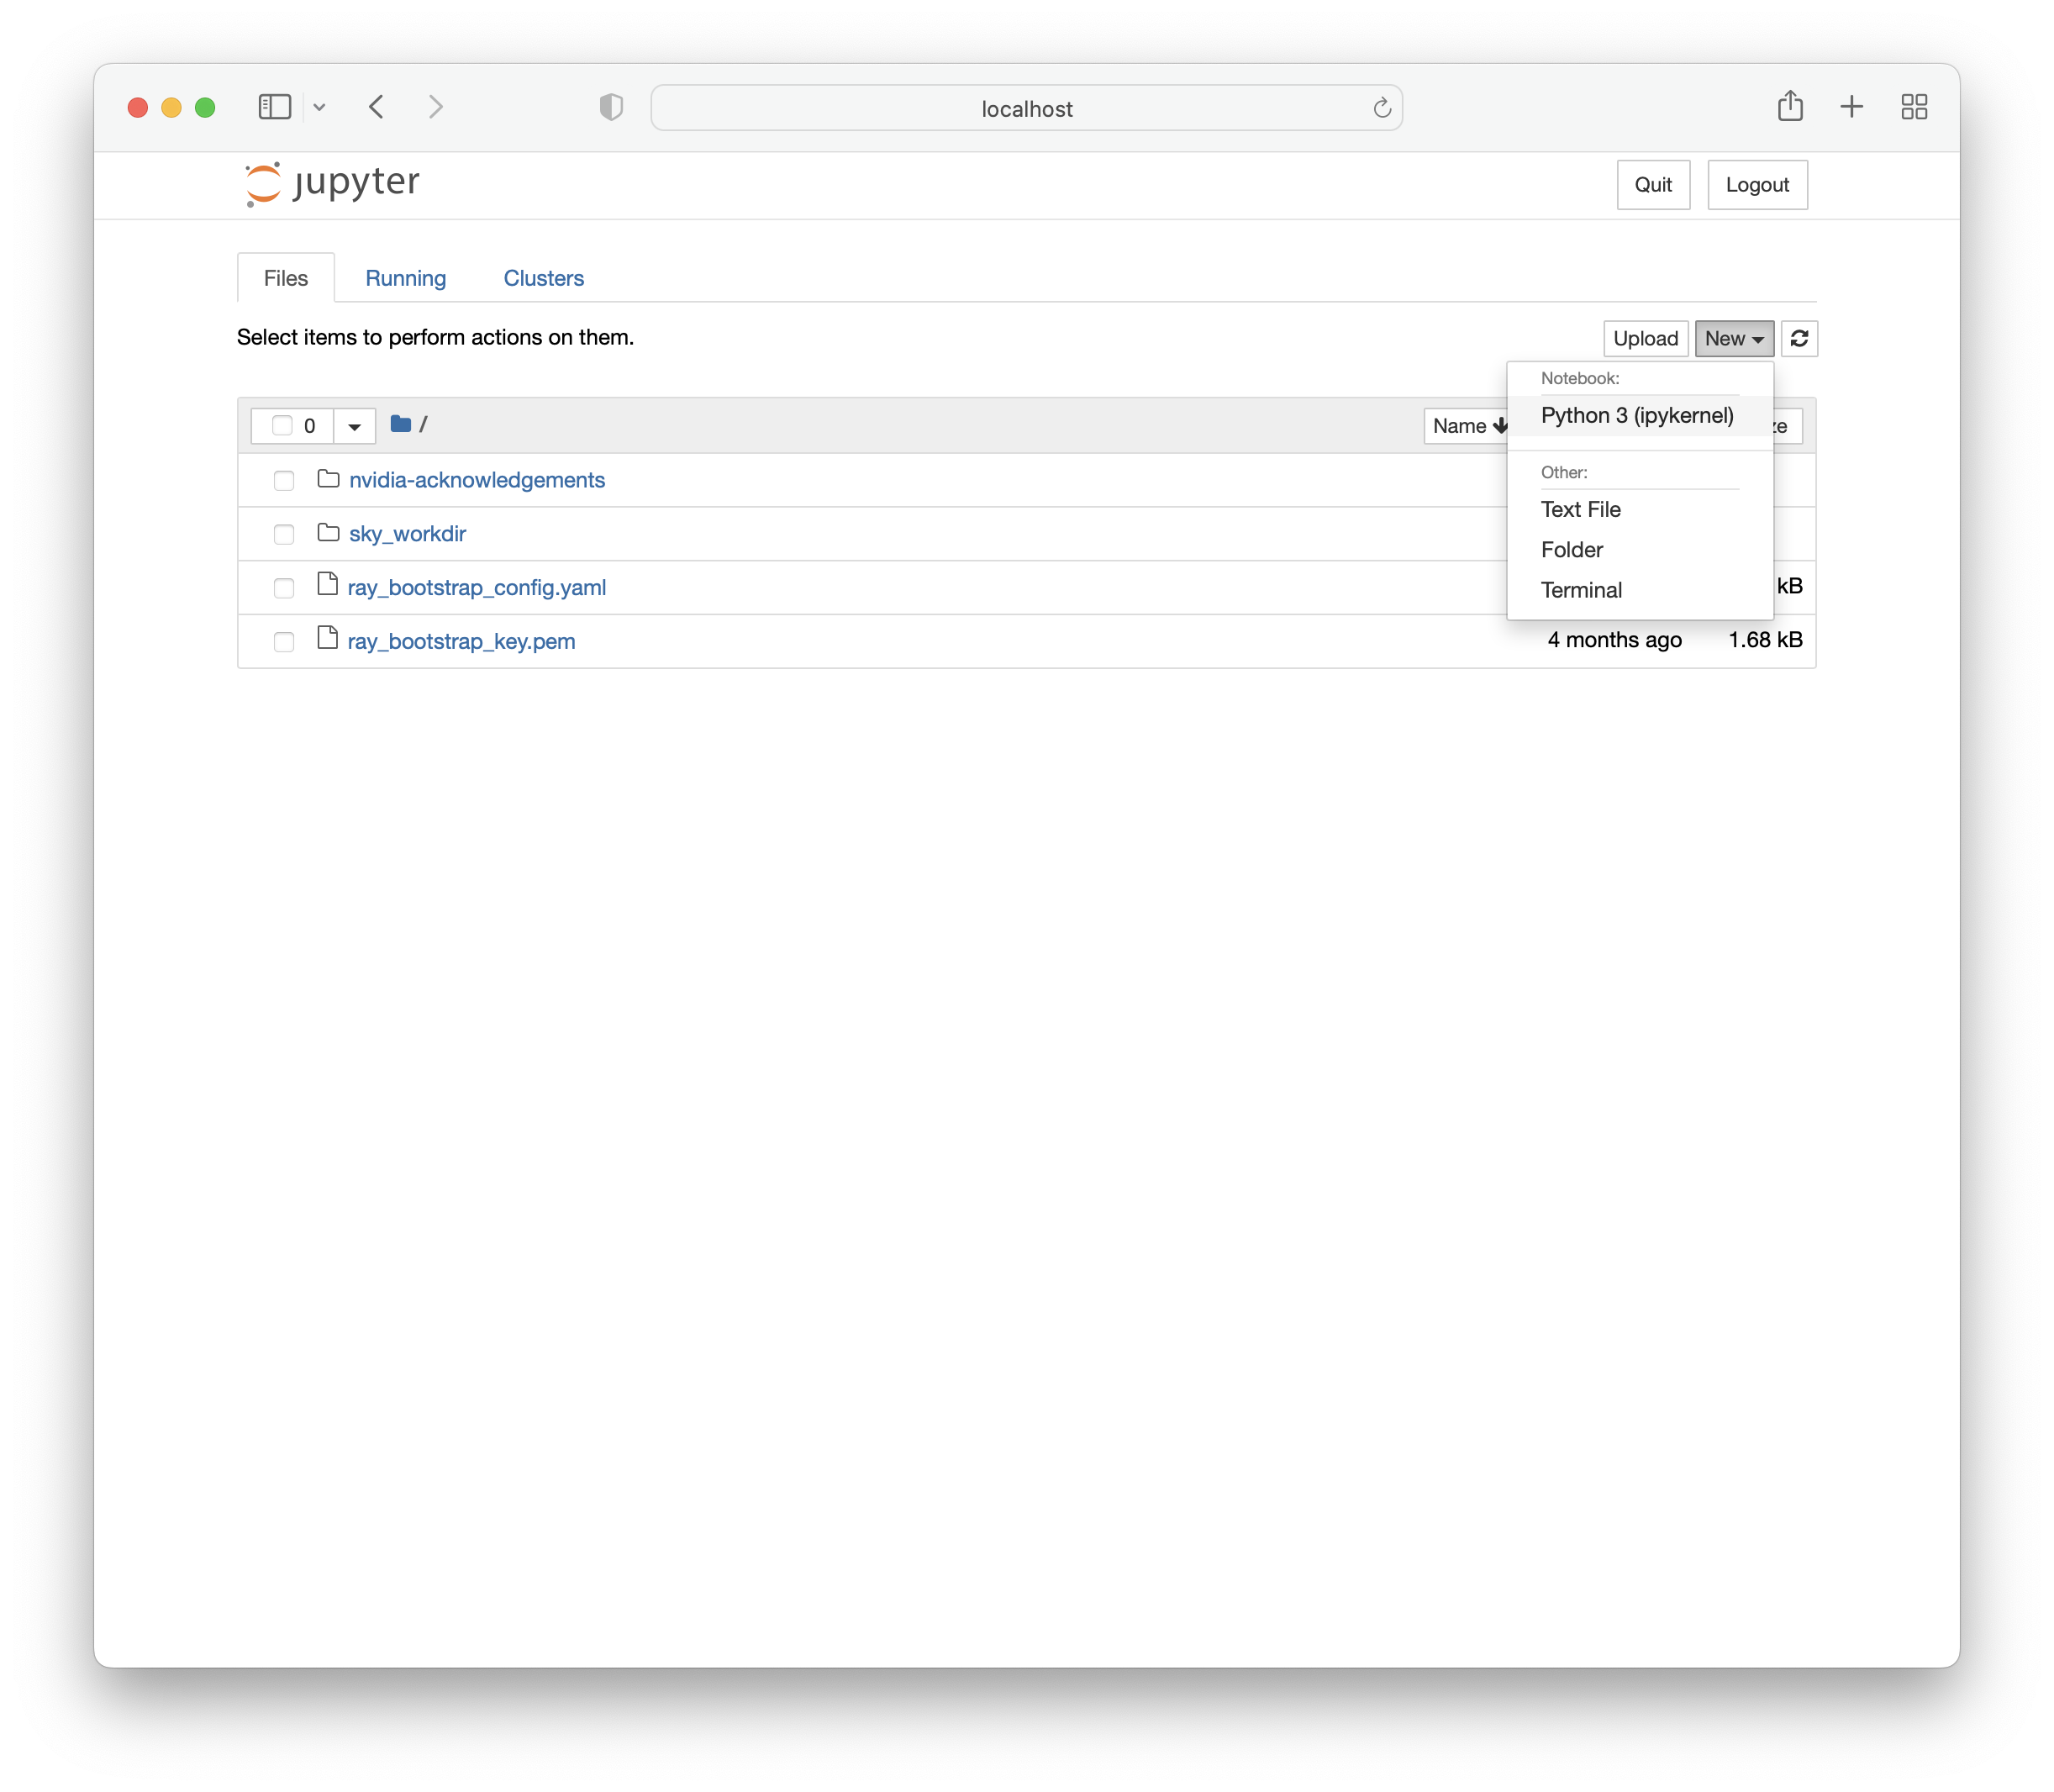
In your local browser, you should now be able to access localhost:8888 and see the following screen:

Enter the password or token and you will be directed to a page where you can create a new notebook.

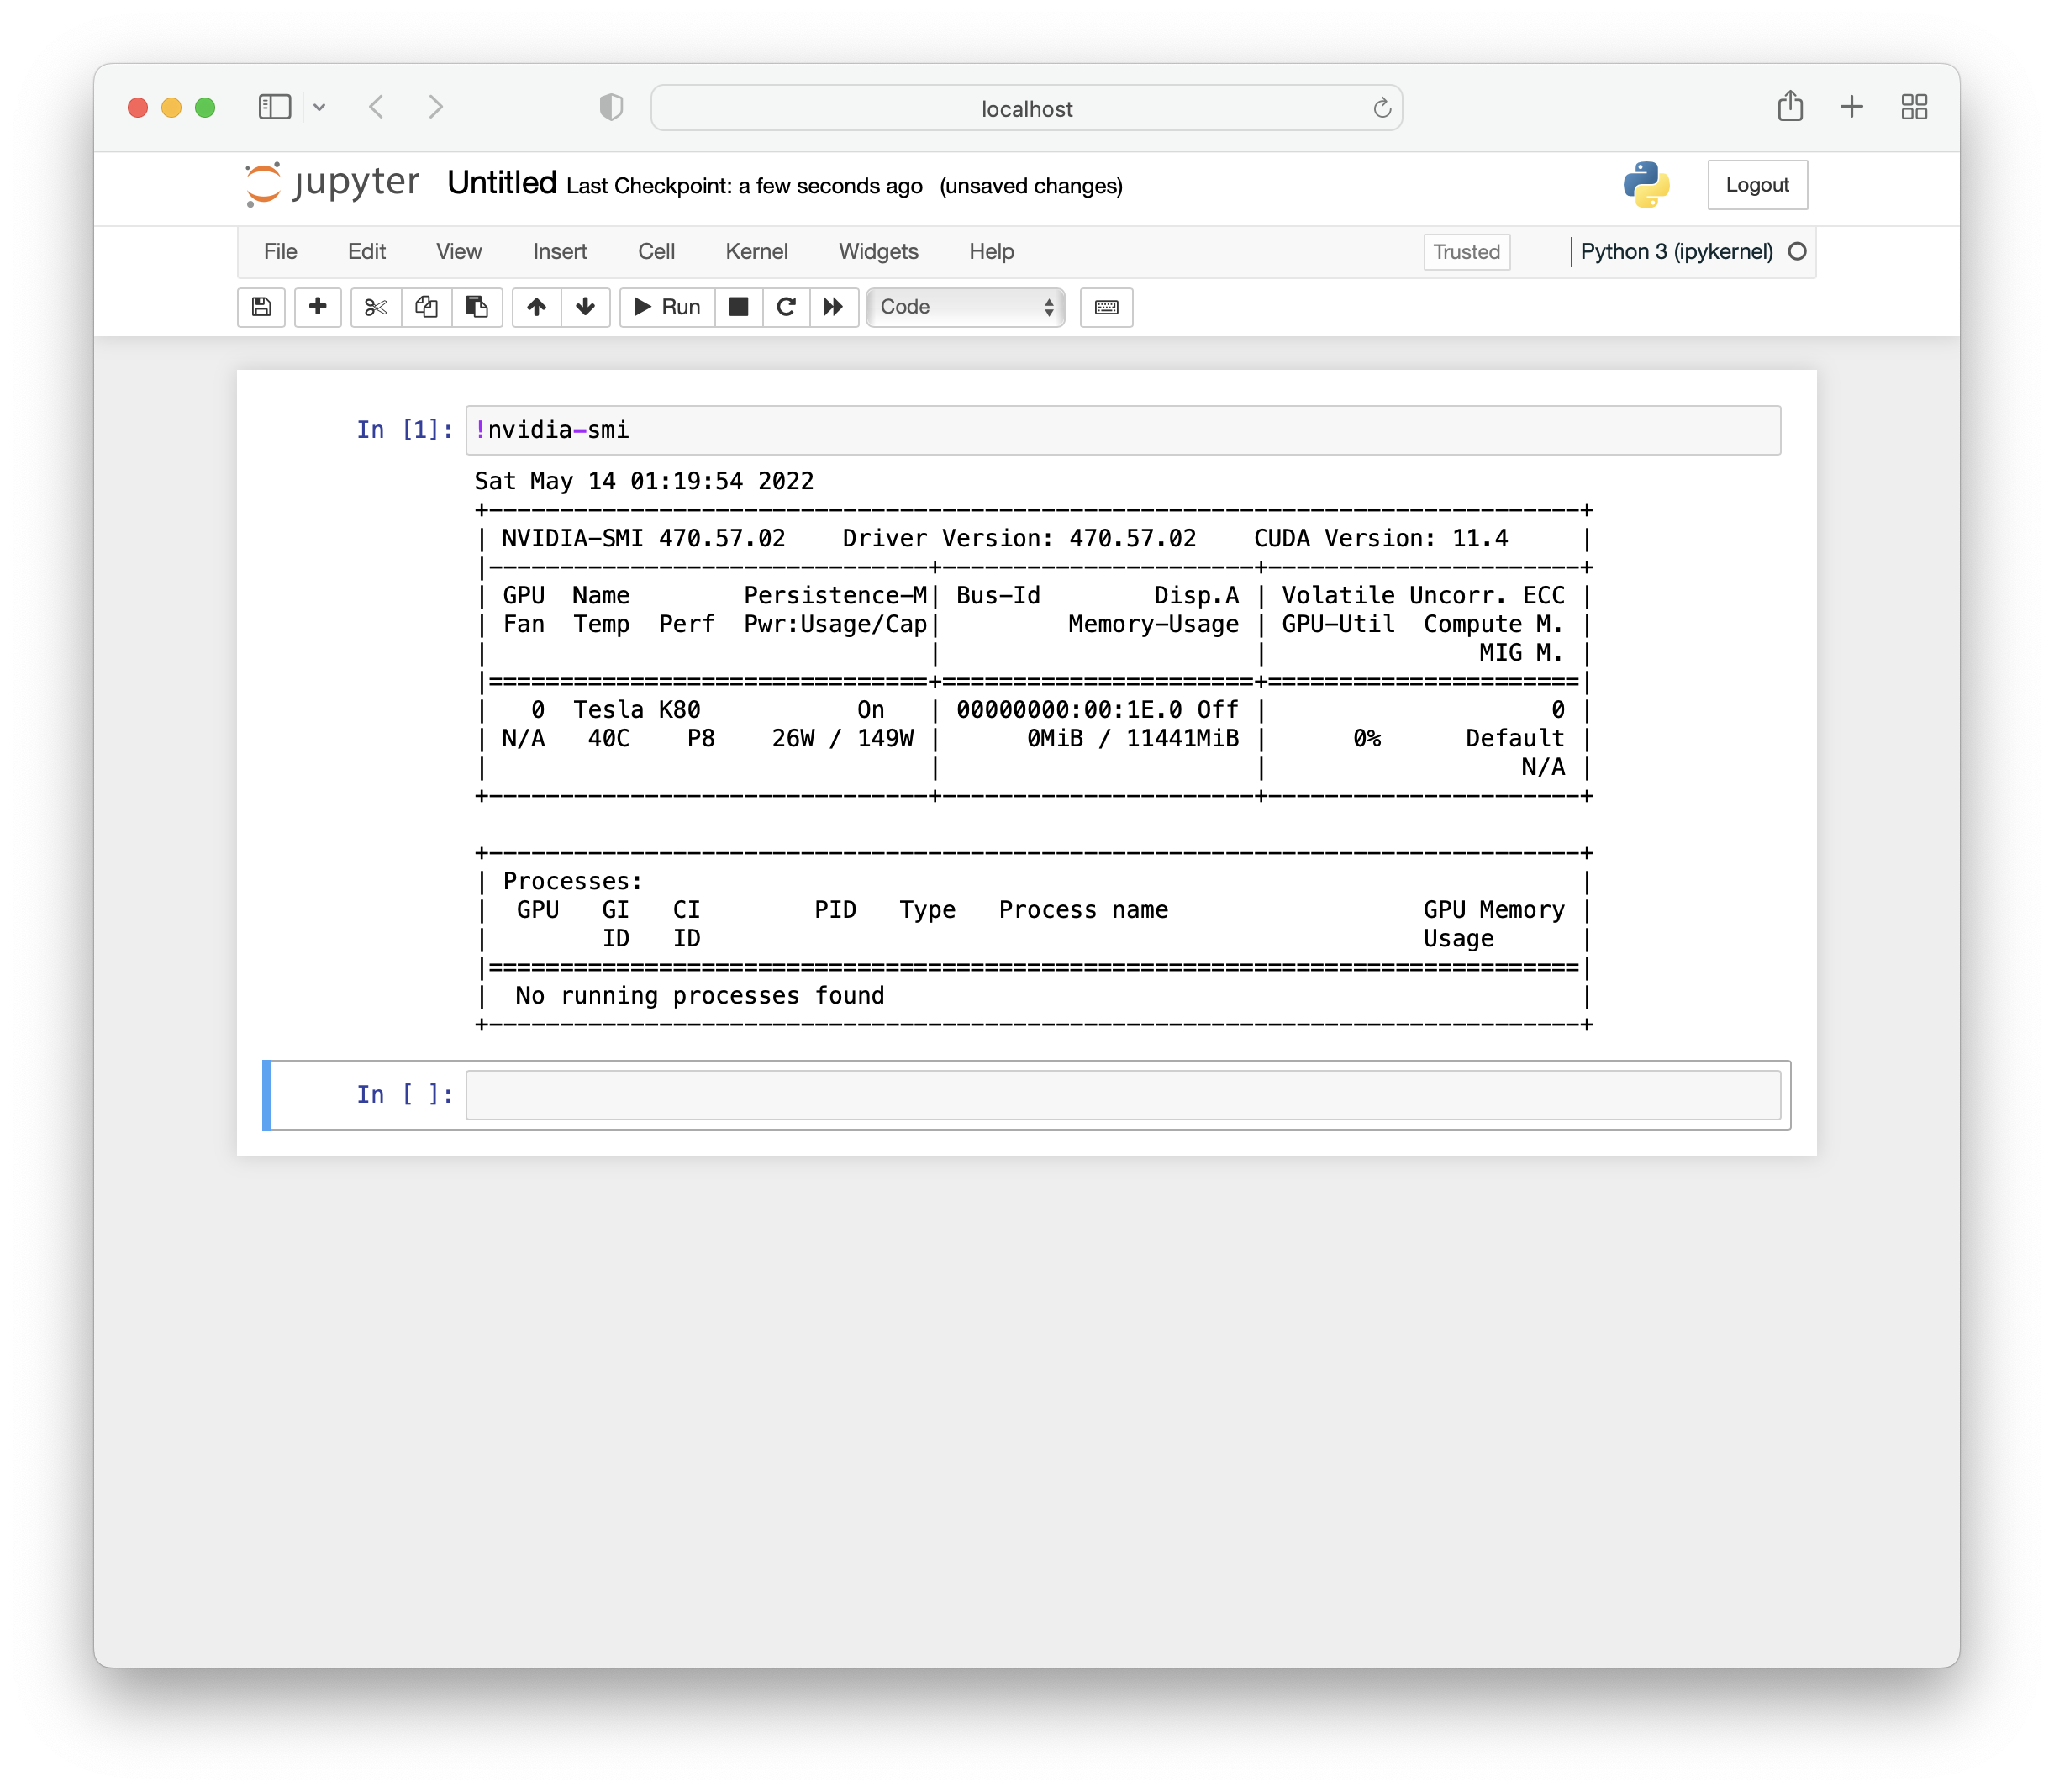
You can verify that this notebook is running on the GPU-backed instance using nvidia-smi.

The GPU node is a normal SkyPilot cluster, so you can use the usual CLI commands on it. For example, run sky down/stop to terminate or stop it, and sky exec to execute a task.
Notebooks in SkyPilot tasks
Jupyter notebooks can also be used in SkyPilot tasks, allowing access to the full range of SkyPilot’s features including mounted storage and autostop.
The following jupyter.yaml is an example of a task specification that can launch notebooks with SkyPilot.
# jupyter.yaml

name: jupyter

resources:
  accelerators: K80:1

file_mounts:
  /covid:
    source: s3://fah-public-data-covid19-cryptic-pockets
    mode: MOUNT

setup: |
  pip install --upgrade pip
  conda init bash
  conda create -n jupyter python=3.9 -y
  conda activate jupyter
  pip install jupyter

run: |
  cd ~/sky_workdir
  conda activate jupyter
  jupyter notebook --port 8888
Launch the GPU-backed Jupyter notebook:
sky launch -c jupyter jupyter.yaml
To access the notebook locally, use SSH port forwarding.
ssh -L 8888:localhost:8888 jupyter
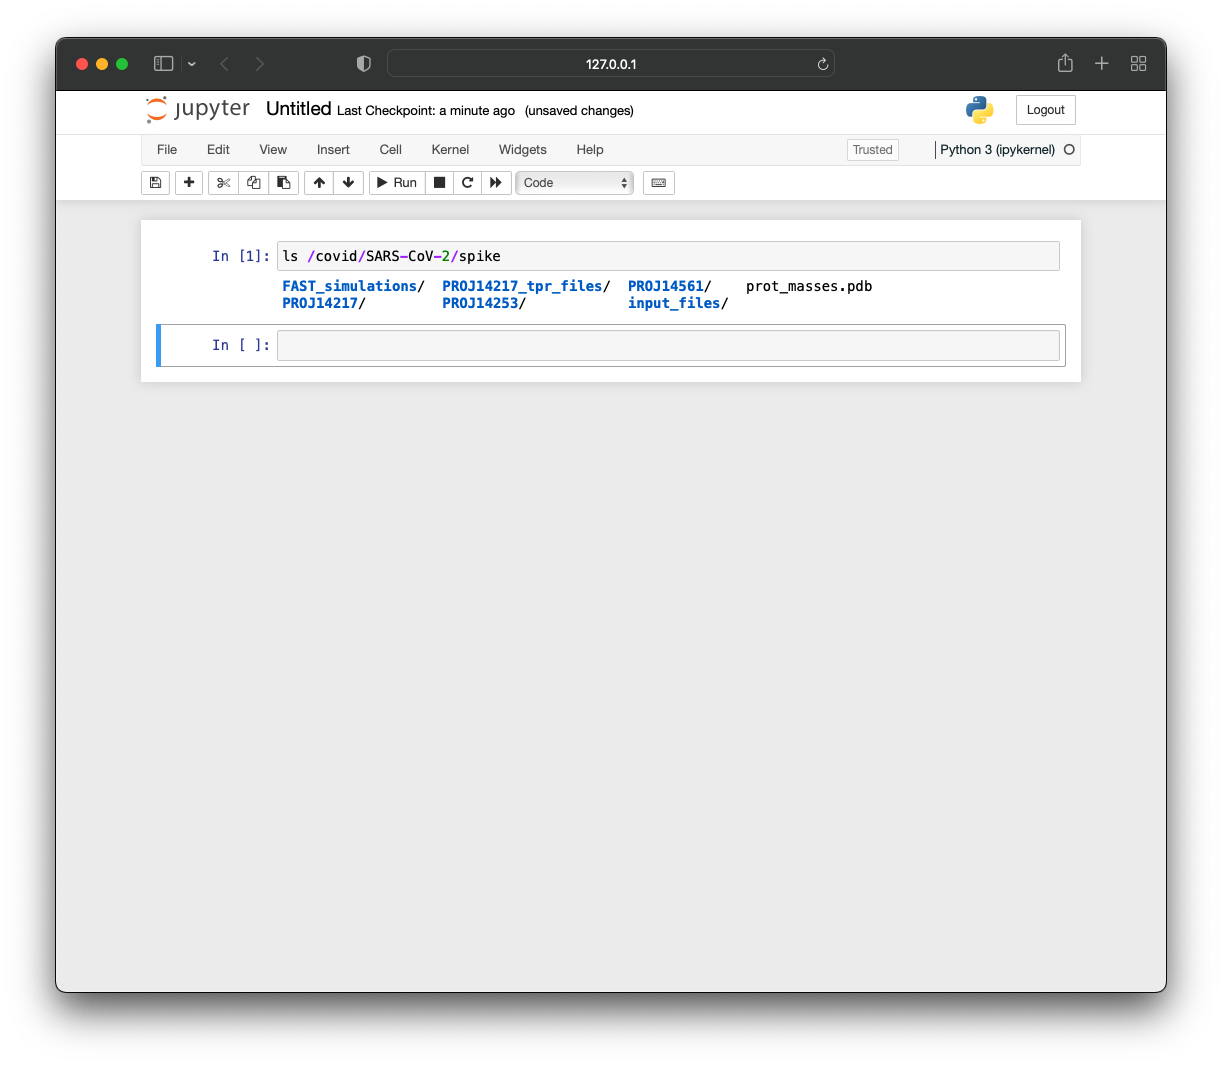
You can verify that this notebook has access to the mounted storage bucket.

